The header is the first section of every page, and the starting point of your page design. It is the first thing you should drag onto a blank canvas.
To add a header to your page, launch your canvas, and click on the palette icon to reveal the building blocks. Click on “Headers”, and drag your header of choice onto the editing area.
Headers with a slideshow
If you’re using a header with a slideshow, it should come with its default slides. You can’t edit these slides however. You need to create a slideshow separately, and apply it to your header.
Headers with slideshows are best used on the home page of your website.
Find out more about slideshows, and how to manage and use them.
Headers with background images
Some headers come with a background image. To change the background image, go into edit mode.
Click on the image to change it. For most headers, you need to click on the bottom part of the image (below all the overlaying elements like text and / or buttons). Select an image from your library if you have already uploaded images, or upload the image you want to set as the background.
Logo & Navigation
The logo and navigation are the most important part of the header. The logo represents your brand, and the navigation is what your visitors use to traverse through your website.
Changing your logo
There are two ways of changing your logo. You can either change the logo on all pages simultaneously, or change it on individual pages.
Changing the logo on an individual page
By default, the logo on each header comes in two parts: The image (palette icon on the left), and the text (the “Palette” text on the right).
You can decide to delete the text, and use an image logo only, or to delete the image, and text only if you don’t have a logo.
To change your logo image, click on the image and either select your logo from your image library or browse for , and upload your logo image file.
![]()
To adjust the image size, select the logo as a whole (you know you are editing the logo as a whole when you hover, and the red dotted outline surround both the image and text area as shown below) and select whether you want your logo bigger or smaller.
![]()
Changing the logo on all pages simultaneously
To change the logo in the header of all your pages at the same time, take the following steps:
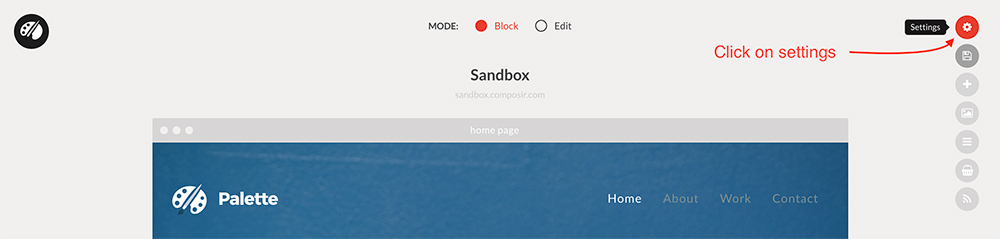
1. Hover over the magic want icon on the top right corner of your canvas while in block mode.

2. Click on the settings icon. Your website settings should pop up.
3. When your website settings pop up, click on the logo field in the Brand section to browse for and upload your logo. Save your settings to upload your logo. Your canvas should reload after this. If you have already uploaded your logo in your settings before now, you can skip this step.
![]()
4. If you’ve just uploaded your logo, your canvas would heve reloaded. Open up your settings again, and click on the “Update logo in pages” button in the Brand section.
![]()
5. Select the logo size (small, big, or default), and click on “Update logo in headers”.
![]()
Updating your navigation
You can update your navigation links directly from the header, however this is only a good idea on a single page website where the links target sections on the same page. If your website has multiple pages, you need to manage your navigation links in the navigation tools. Hover over the magic wand icon on the top right corner of your canvas when in block mode to reveal the toolbar. Click on navigation to manage your navigation links.
Find out more about navigation links, and how to manage them.