The blank canvas
Below is a screenshot of the blank canvas. If you create a website without a template, this is what your canvas will look like. The different sections of the canvas are numbered, and explained below.
![]()
- The Palette
- The Modes
- The Toolbar
- The Website Name & URL
- The Editing Area
- The Footer Editing Area
1. The Palette
Clicking on the palette icon toggles the palette.

Think of yourself as an artist. You want to make a painting, and you have your blank canvas. You’re going to need some paint to put on that canvas. That’s where the palette comes in. It has all the paint on it, you just use your brush to apply it. Working with that analogy, consider your website as a painting. The palette has all the building blocks (paint) that you need to make your painting.
There are three sections of the palette.
- The building blocks
- The action buttons
- The page section
The building blocks

The blocks are all categorized as shown in the above picture. To reveal the actual building blocks, click on the category.
When you find a block that you want, drag it onto the editing area. You can add as many blocks to the editing area as you like. The blocks you drag to the editing area will make up your page.
The action buttons
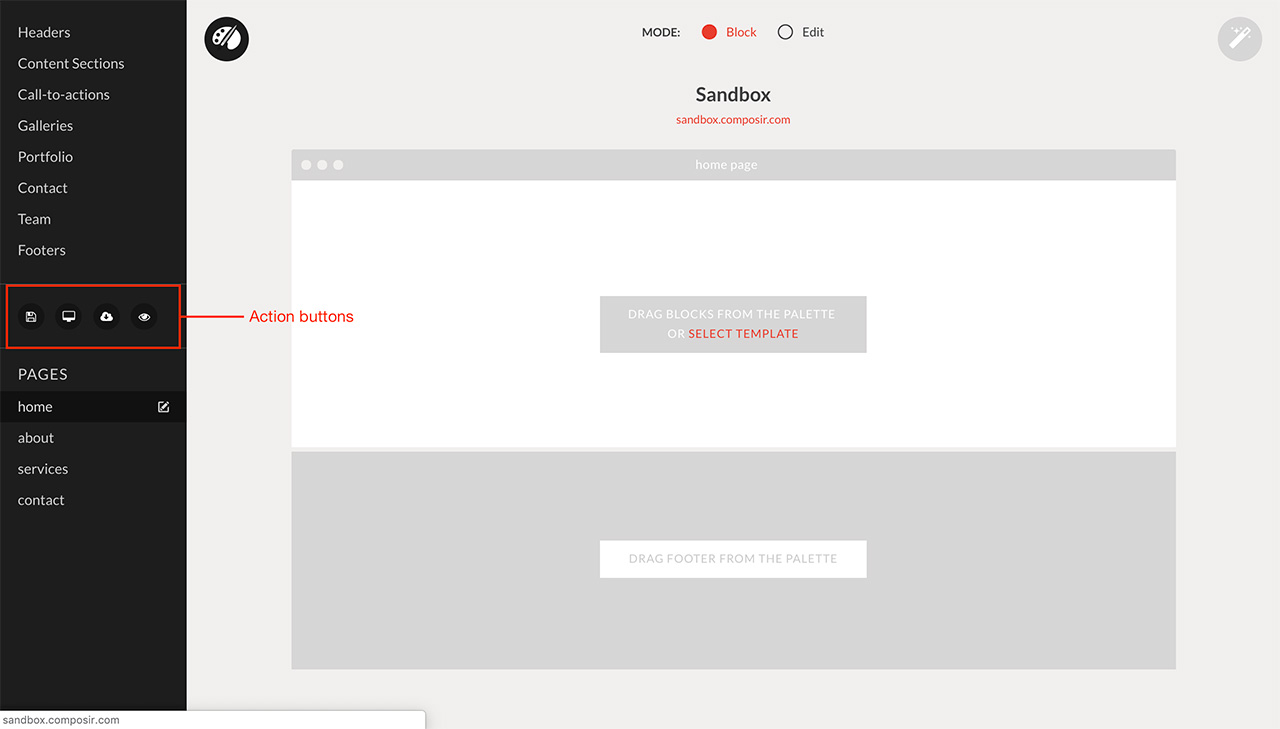
There are four action buttons:
- Save: The first button, which will save your work when clicked on.
- Preview: Which will show you a preview of the page you are working on when clicked.
- Publish/ Un-publish: Which will publish / un-publish your work (make it visible to the public) when clicked.
- Live View: Which takes you to the live version of your website.
The pages section
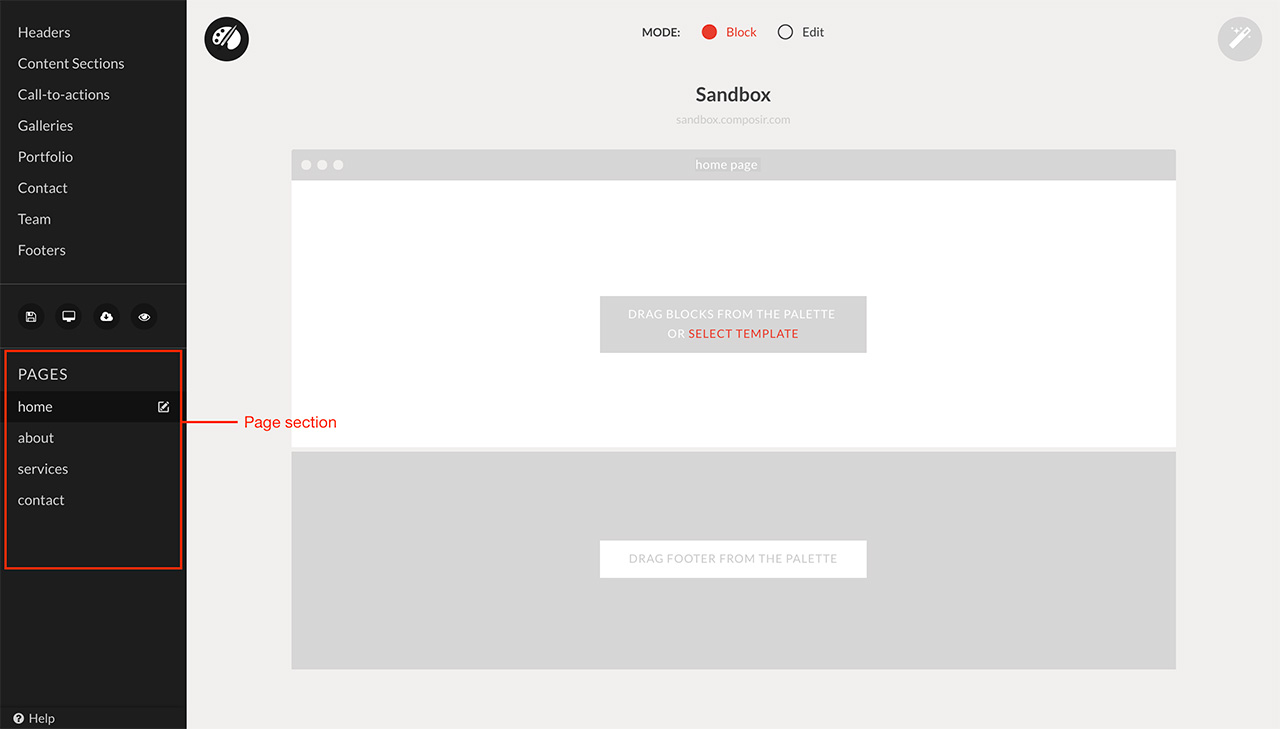
The page section is where you select the page that you want to edit. You can also change the name the clicking on the edit icon that pops up next to the page name when you select it.
2. The Modes
There are two modes. Block mode, and Edit mode.
Block mode
When you first open your canvas, it should be in block mode. This is the default mode. Block mode is used for arranging blocks in the editing area. With the block mode you can drag in blocks, arrange the blocks, delete unwanted blocks, and reset blocks to their last saved state.
While in edit mode, and you hover over the blocks in your editing area, you have no access to the individual components of that block. The block is treated as a whole, and you can either drag it to a different position, reset it, or delete it.
Edit Mode
Select the edit mode when you want to edit the content within the blocks in your editing area. When you are in edit mode, you have access to the the individual components of the block, and you can edit them as you wish.
When you hover over elements of a block while in edit mode and you see a red dotted outline, it means that the element can be edited.
Find out how to edit text, or images.
3. The Toolbar
Hover over the magic wand icon to reveal the toolbar. The buttons in the toolbar lead you to a different tools to manage your settings, save your work, create a new page, manage your images, and your navigation.
4. The Website Name & URL
This section of the canvas displays your website name, and the URL. If you have not published your website, the URL will be hidden. You can use the URL to view your live website after making edits.
5. The Editing Area
The editing area is where the blocks that make up your page are kept, and managed. To add blocks to your editing area, toggle the palette, click on the building block category that you want, and drag your desired block onto the editing area.
6. The Footer Editing Area
This is just like the editing area, but it is meant for your website footer only. You can only drag in building blocks from the footer category onto your footer editing area. The footer is fixed for all pages.
Learn more about how your pages should be structured.